Find Food!

Thursday 8 November 2012

Brie and Roasted Vegetable Tart

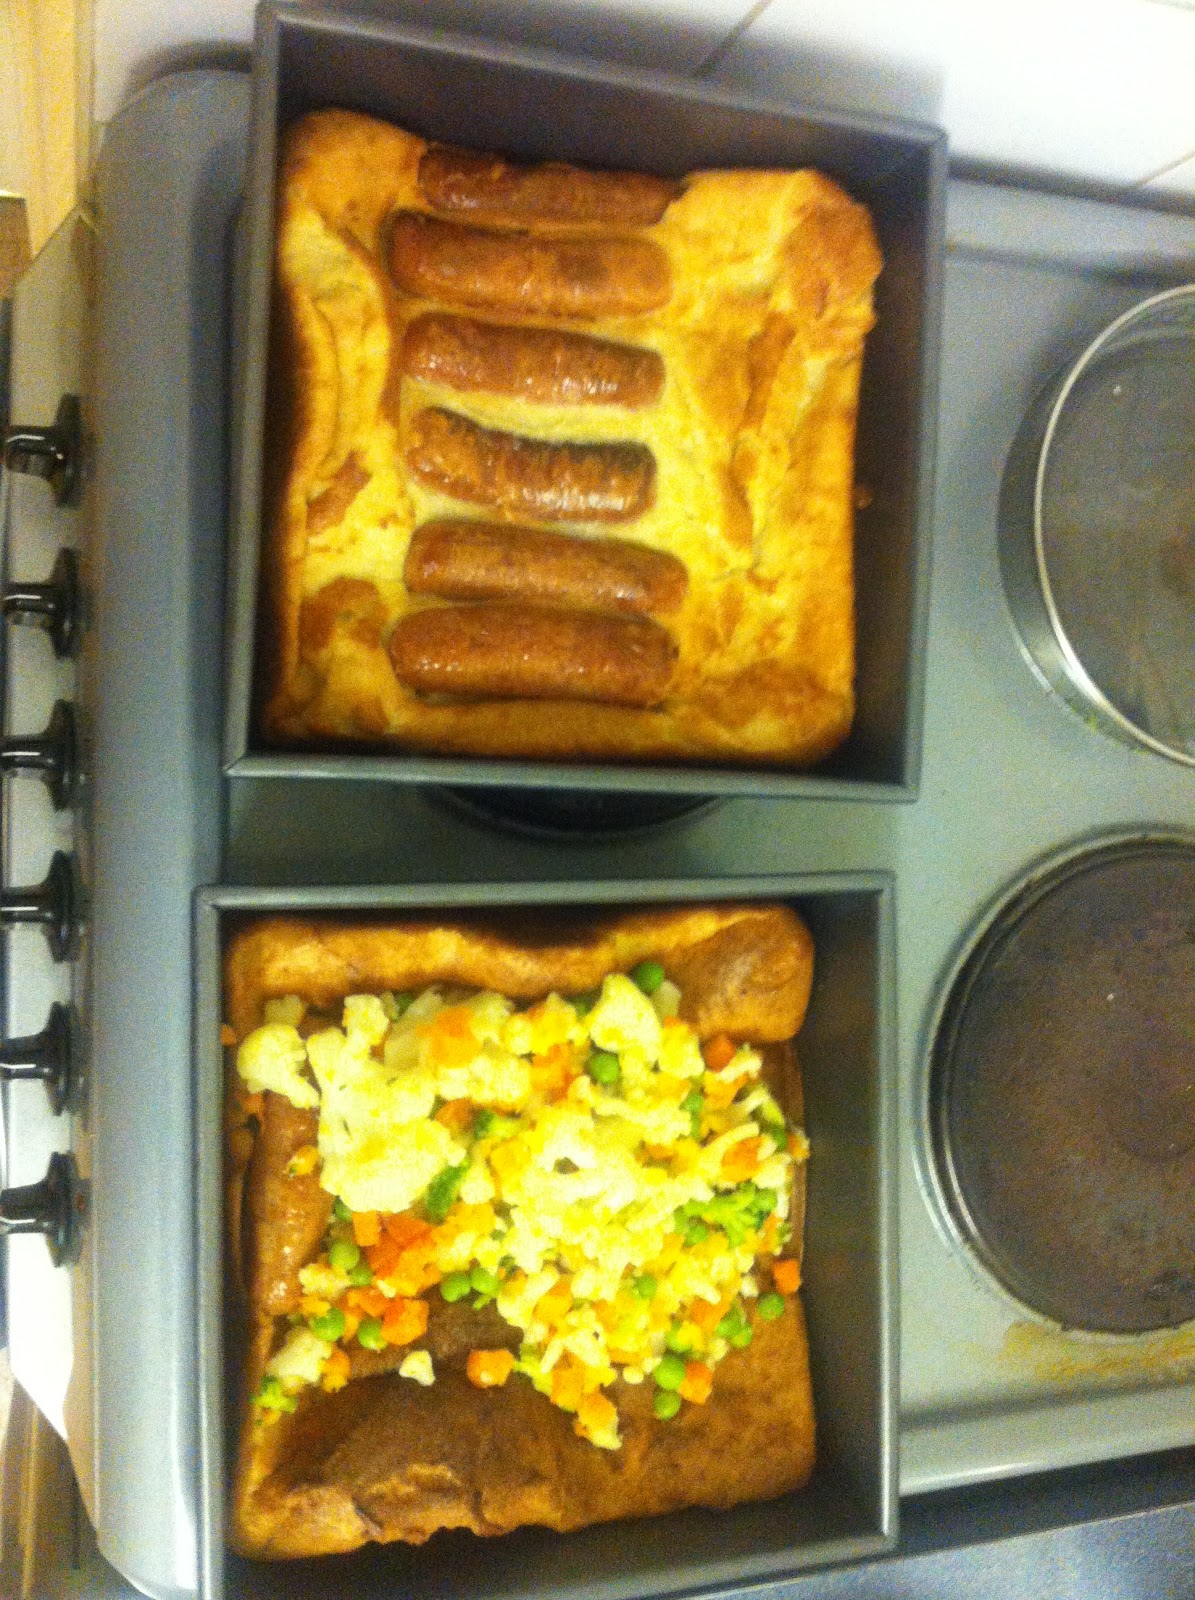
No I didn't roast a mini skirt wearer - I made a pastry tart! And it was BEYOND fabulous. Here is how...

Ingredients:
1 x Courgette, sliced
2 x Peppers, diced into chunks (I picked yellow and red)
10 x Cherry tomatoes
1 x Red and white onions
50g Spinach
100g Brie
200g Plain flour
75g White vegetable fat
50g Cheddar cheese
1 x Egg, beaten

Step 1. We roast the veggies first so make them all chunky and bohemian-esk and mix them all up into a roasting dish. Have the oven pre-heated to 200 C and cover - not drown - them in a bit of nice olive oil. Sprinkle some salt and pepper on to taste and stick them in the oven. Clear some room.. the pastry is a comin'!

Step 2. PASTRY! God I love pastry.. Anyway. If you have a blender then wonderful. I am jealous of you.. I used a fork and a litre of sweat. Blend together the flour, a pinch of salt, the fat and the cheese. Once thoroughly mixed together, add 3 tablespoons of the egg you have pre beaten (poor egg, what did it do to you) and add some cold water. I put in about a tumbler glass worth steadily and not all at once. What you are aiming for is a smooth as you can get dough that isn't sticky. Once done, take it out of the blender and knead it gently for a few minutes. Wrap some cling film around it and chuck it into the fridge for 15 minutes. Go and stir the veg around.

Step 3. Take out your veg and pastry at the same time, being careful not to drool into either. Put down some more plain flour and unwrap your dough onto it. Putting a bit of flour into each of the wet sticky bits, roll out the dough until it fits your baking tray with enough to flap over the sides. With the left over beaten egg, bush the rolled out ready dough with it and then fill in the middle of the baking tray with the veg. Permission to now go nuts with the brie. Do it lavishly. Stick it everywhere! 

Step 4. Turn the sides of the tart up to make a brie and roasted vegetable nest. Return the glorious concoction to the oven and give it 25 minutes. Go back every 5 minutes to watch it rise and when the buzzer buzzes or the dinger dings, take it out and go and show the neighbours. And then enjoy it alone.. in a dark room.. alone.. kali orexi!

Tuesday 6 November 2012

Snowed in the Hole

Ello ducky! 'Ow do? Today I bring you a good ol' English favourite - toad in the hole, but with a twist! I have made a yorkshire pudding batter, poured it over grilled sausages and then once the pudding was done, I have topped it with mash and grilled it. Hence the snowed in bit.. what with mash being white. This makes enough for 12 sausages so you either need A FUCK off baking tray or you need to spread it into two.

Ingredients:
12 x Good sausages
8 x Very large white potatoes
1 x Tbsp of vegetable oil
4 x Eggs, beaten
225g Plain flour
250ml Semi skimmed milk
Choice of veggies - as many as you want
Salt and Pepper to taste

Step 1. Put the sausages under the grill making sure they are nice and cooked on all sides, unless you want the shits for undercooked pork. I don't.

Step 2. Batter making time. Put the oven onto around 200-230 degree C (not a fan oven) and start by putting the flour and salt into the mixing bowl. Beat the eggs (with a fork or whisk or baseball bat) and mix in the milk. Once all nice and blended, pour it over the flour and beat that up too. Once it is very nice and silky, leave it to one side to "rest", because clearly it's had it hard lately.

Step 3. Put the oil into the baking trays and put them on their own into the oven. Only when the trays are SMOKINGLY (literally) hot, should you transfer the sausages into them and pour over the batter. Put them into the oven and then do NOT touch them or go near the oven until they have risen and are golden brown. You will have to look through the oven window or something because if I catch you opening the oven door for a peek.... There might be a burning accident....

Step 4. Make the potatoes and vegetables. Easy done this - peel the potatoes and put them in water, same with veg. Put pan of water with items onto hob. Turn hob on. Wait until items are soft. DONE! People like their mash differently so do it as you would. Surely everyone has made mash before and you don't need step by step?!

Step 5. By now the sausage and pudding should be done. Top the pudding with the vegies and then the mash. Bung it under the grill and people it's done! I served mine with a gravy and I can tell you it went down SO well. Everyone loved it and it is incredibly filling.Have fun making it yourself!


Monday 5 November 2012

Pizza Rowlandez

A lavishly, gorgeously rich pizza that took 10 minutes to make and 10 minutes to cook. Knowing what ingredients are going on and in the pizza makes it worth while. This recipe makes 2 pizzas.

Ingredients:
1 x 2 pack of pizza bases
1 x Red onion
1 x Red pepper
1 x Slice of goats cheese
1 x Bag of spinach
1 x Jar of tomato pizza sauce
1 x Pack of tikka chicken strips

Step 1. Make sure the pizza bases are defrosted if they were in the freezer. Nothing worse than a soggy pizza coming out of the oven! I start by slicing the onion, pepper and spinach. I make the spinach quite thin and the onion I cut into rings. Now I like my peppers chunky so that's what I did but you do them how you fancy.
  
Step 2. Layer on a relatively thick spread of the pizza tomato sauce onto the bases. I LOVE a tomato pizza so I actually added some tomato paste - of course you could use sundried tomatos or something. I like how strong the pastes can taste.


Step 3. Apply the toppings! Spinach first sprinkled all over the base, then red onions, then peppers. At this point its time to apply the goats cheese. Split the pack into two so you have even amounts for the two bases and with your fingers (because its more fun and you can lick them afterwards) tear off globs of it and dot them all around, nice and spread out and ideally into sections where you might cut up a slice. You want at least one glob on each slice. Then liberally apply your chicken! I like mine symetrically applied like a star.. but I do have OCD. Next grate some harder cheese on - I used lactofree because otherwise I would explode and die.  

Step 4. OVEN! If you are making two at the same time then I would say put them in for 7 minutes, then rotate for another 7 minutes. They should come out beautiful and toasty. And it WILL be the best pizza you have ever eaten. SO GOOD! Buon Appetito!

Sunday 4 November 2012

Healthy Blueberry and Vanilla Yogurt Muffins

These are my healthy blueberry muffins that I like to make in bulk and freeze for breakfasts. My recipe makes 30 decent sized muffins are are round about 101 Calories and 3g Fat.

Ingredients:
750g Self Raising Flour
375g Golden Caster Sugar
3 tsp Bicarbonate of Soda
375g Blueberries
6 Medium eggs
9 tbsp Vegetable Oil
300ml Skimmed milk
375g Vanilla fat free yogurt
120g Natural yogurt

Step 1. Get t'oven on! Crank it up to 200c (this is not a fan oven) and put your muffin cases into the muffin cases holder thing, find your weighing scales and get two mixing bowls on the go. And the sieve (not the colander like I did first time... I was tired)

Step 2. Sieve the flour and bicarbonate of soda into a mixing bowl, give it a gentle swish around before adding in the caster sugar & blueberries. Mix it all together until you have an evenly dispersed amount of blueberries.

Step 3. In a really big measuring jug pour the milk in and mix in the oil. Once that is nice and blended in, pour in the yogurts and splodge in the eggs. Using a fork mix the ingredients together.

Step 4. Separate the flour mixture so there is a hole in the middle of it and pour in your jug. Then really gently, fold in the flour around it until you eventually get a nice gooey bowl of goodness.

Step 5. Spoon your mixture into the muffin cases making sure there is a teeny wee bit of room at the top for the muffin to rise and spill over just a little bit. Not too much.. just a bit.

Step 6. Oven time. I find in my oven they take 20 minutes but I know in fan ovens it can take just 10. If like mine it takes 20 minutes, after the initial 10 mins alternate the trays. The best way to tell if they are done is to poke a cocktail stick into them and if they come out wet or sticky then they need more time. Obviously if they are turning black on top then take them out!!

Step 7. Put them on a cooling tray and leave them be for 10 minutes. Once done, dust with icing sugar and enjoy! As I said, I freeze them so to defrost take them out the night before and pop in the fridge. Heated up in the morning with a sneaky bit of butter makes them completely amazing if they weren't already.

Enjoy!